Tache de peinture au lait
Impossible de charger la disponibilité du service de retrait
Tache de peinture au lait
En utilisant les mêmes ingrédients que ceux trouvés dans notre peinture au lait, il vous suffit de mélanger avec de l'eau et d'appliquer sur le bois.
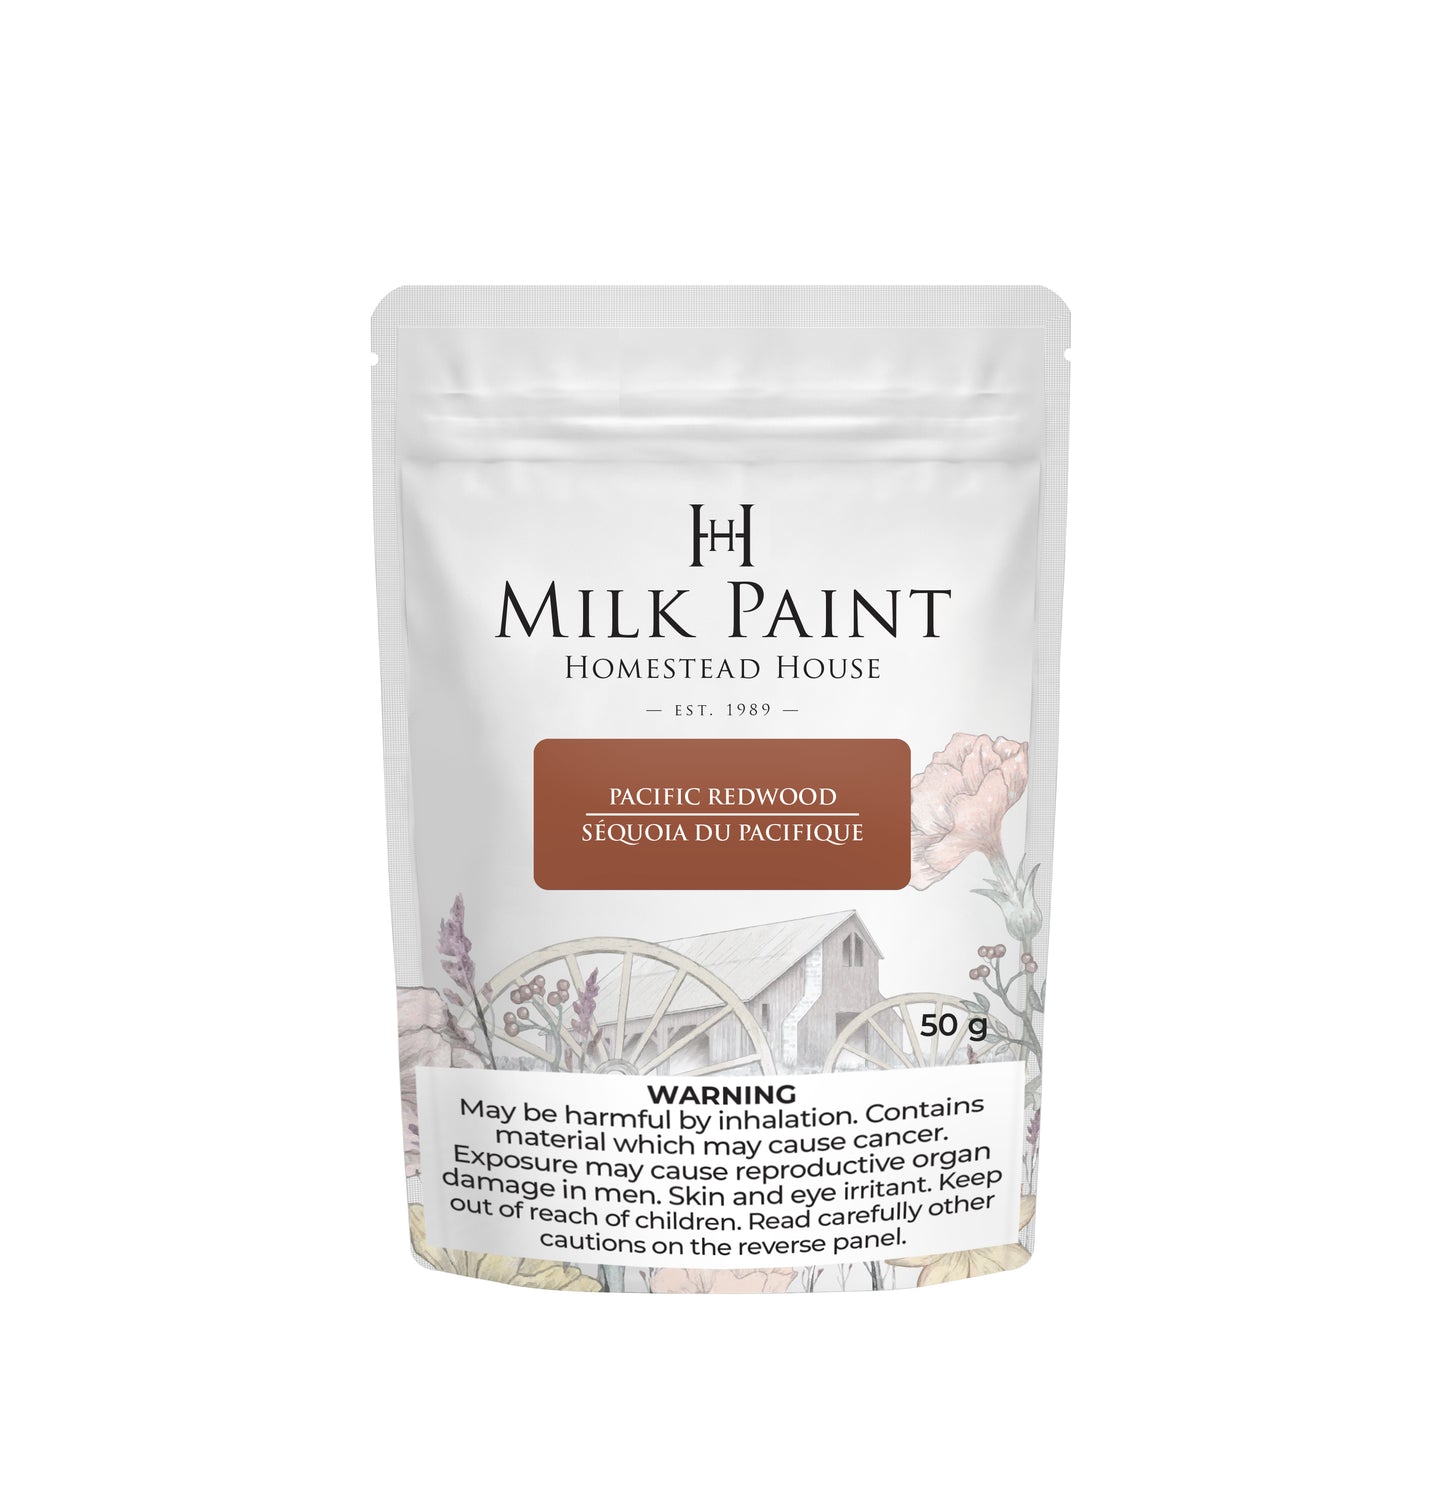
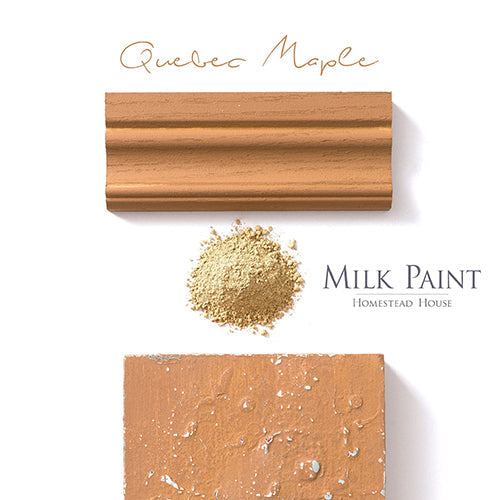
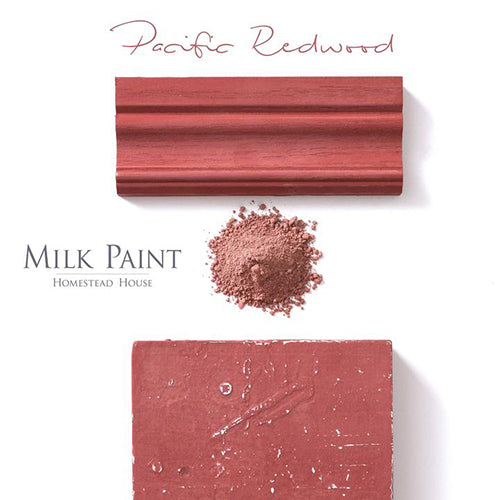
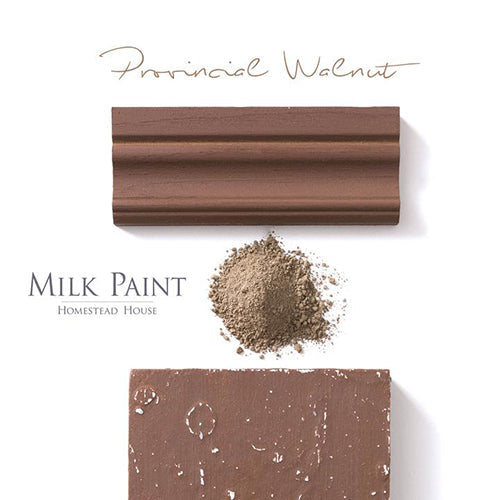
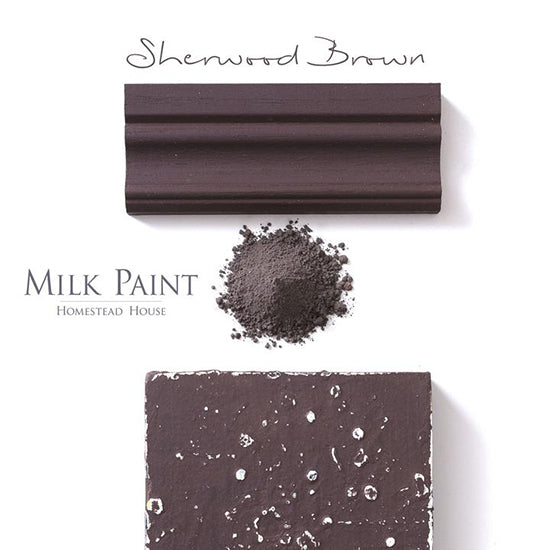
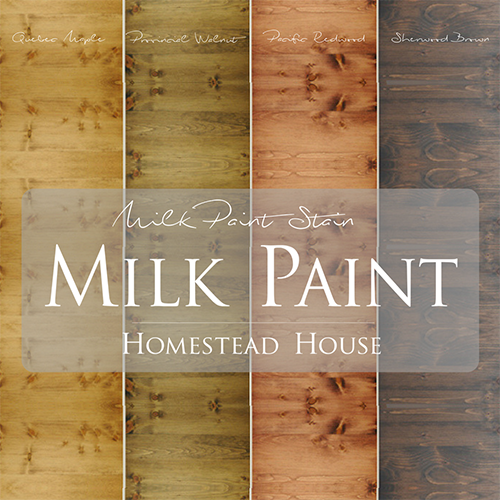
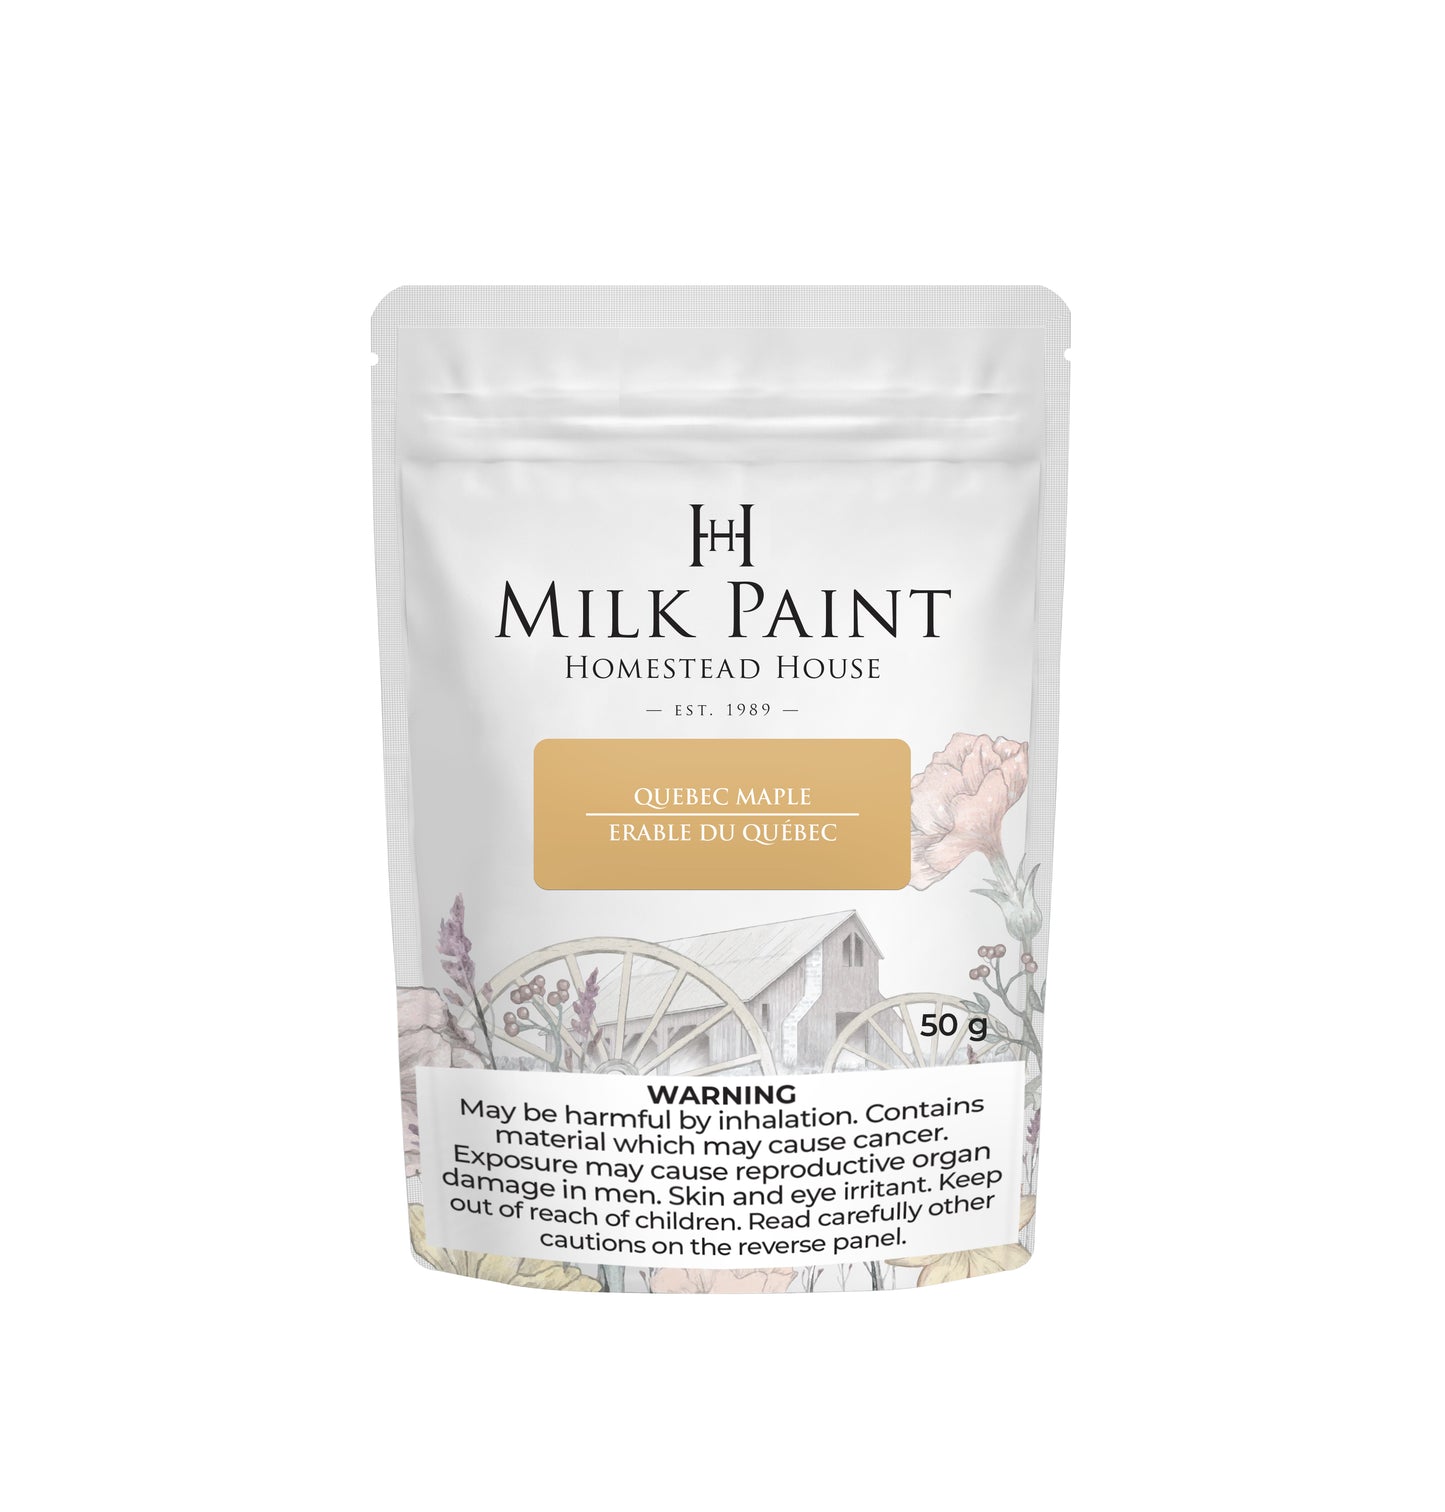
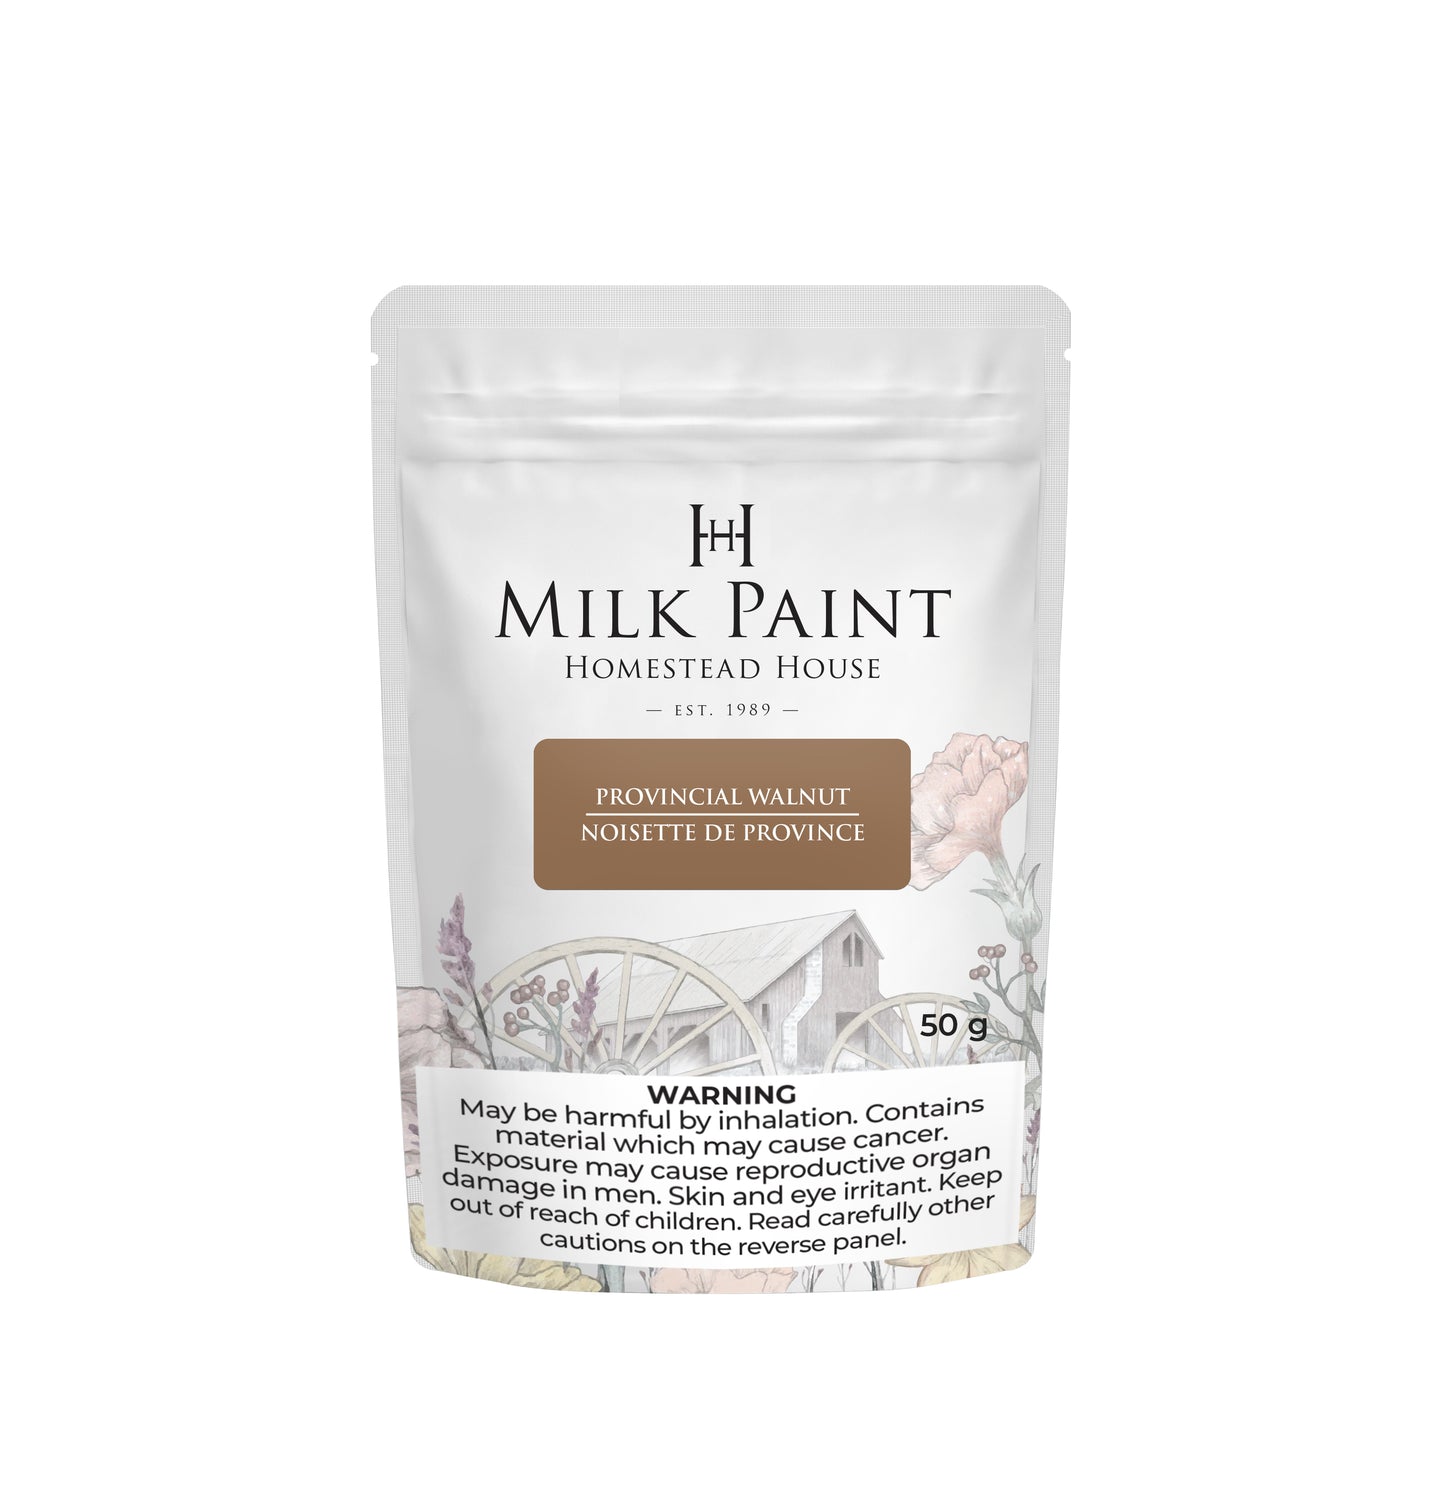
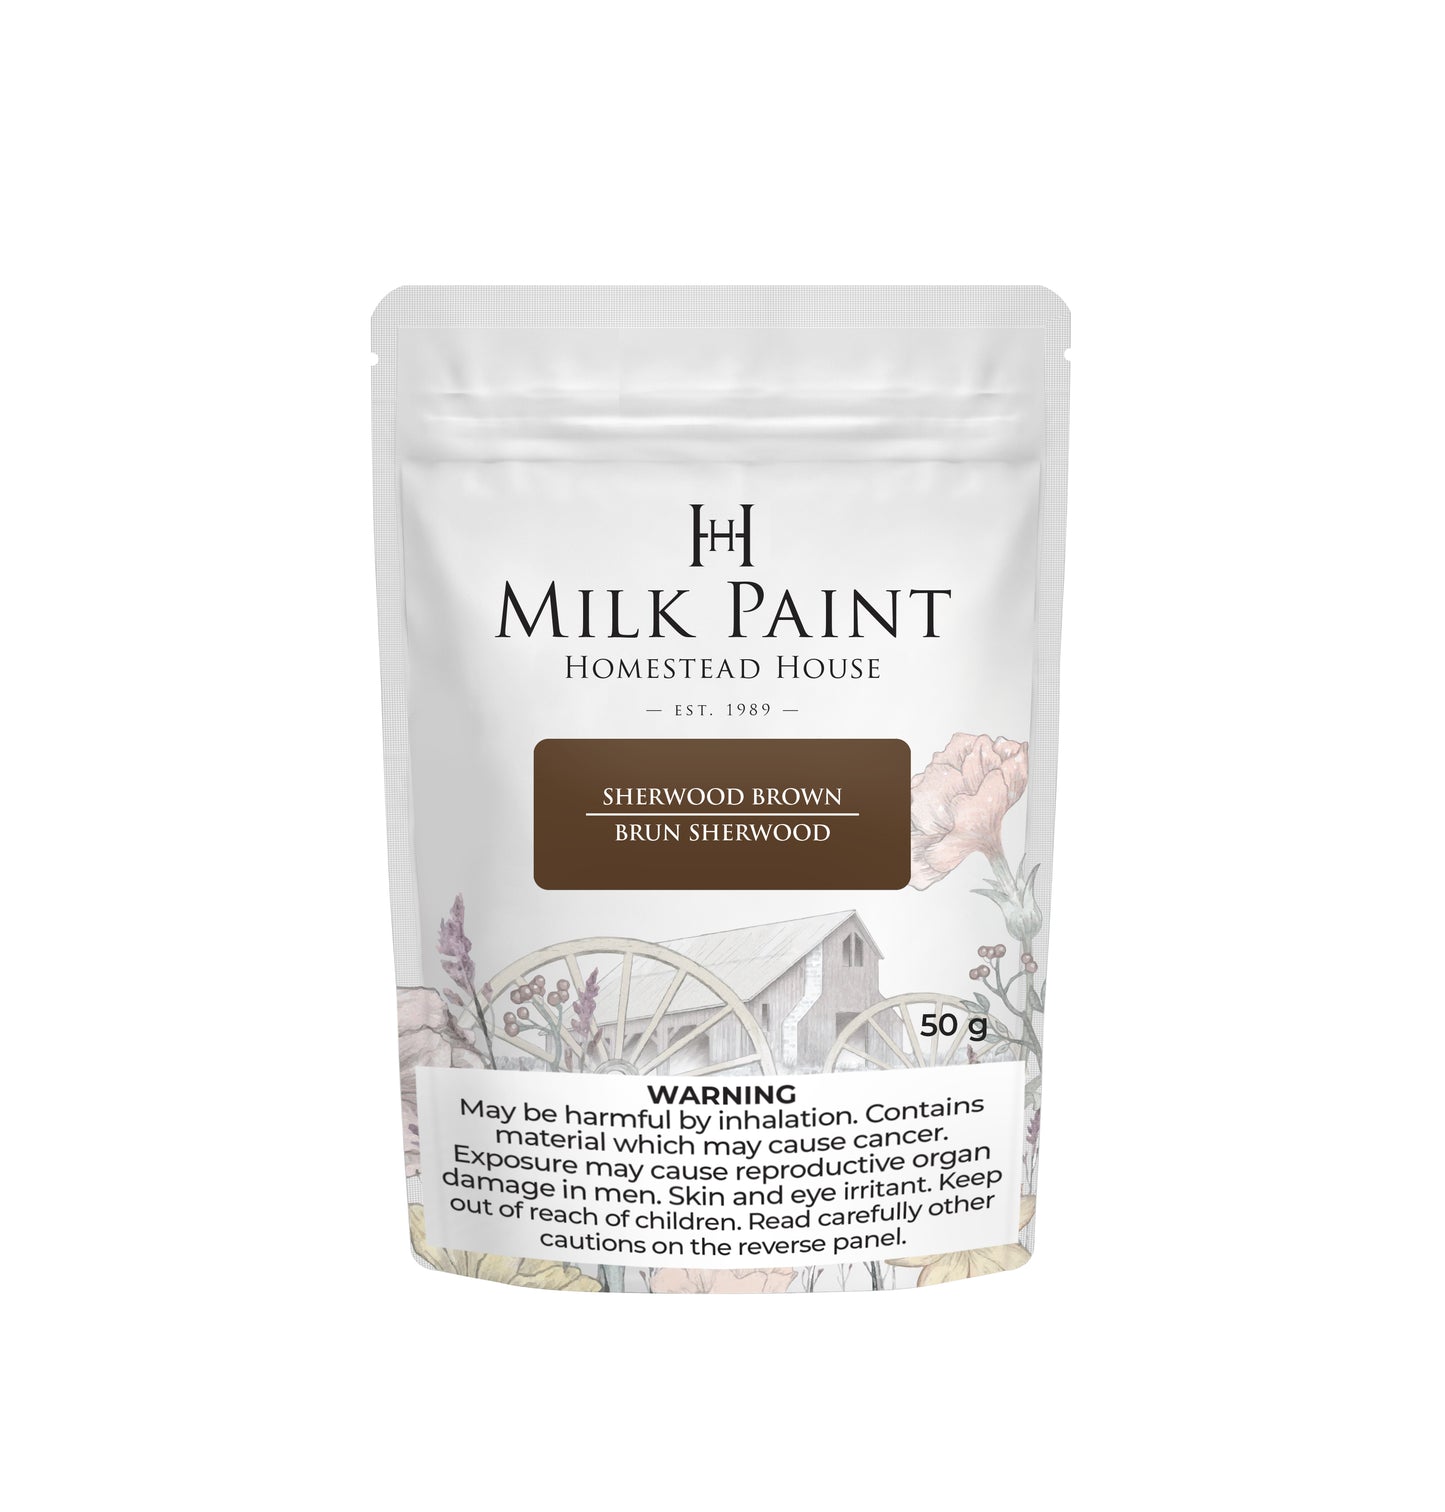
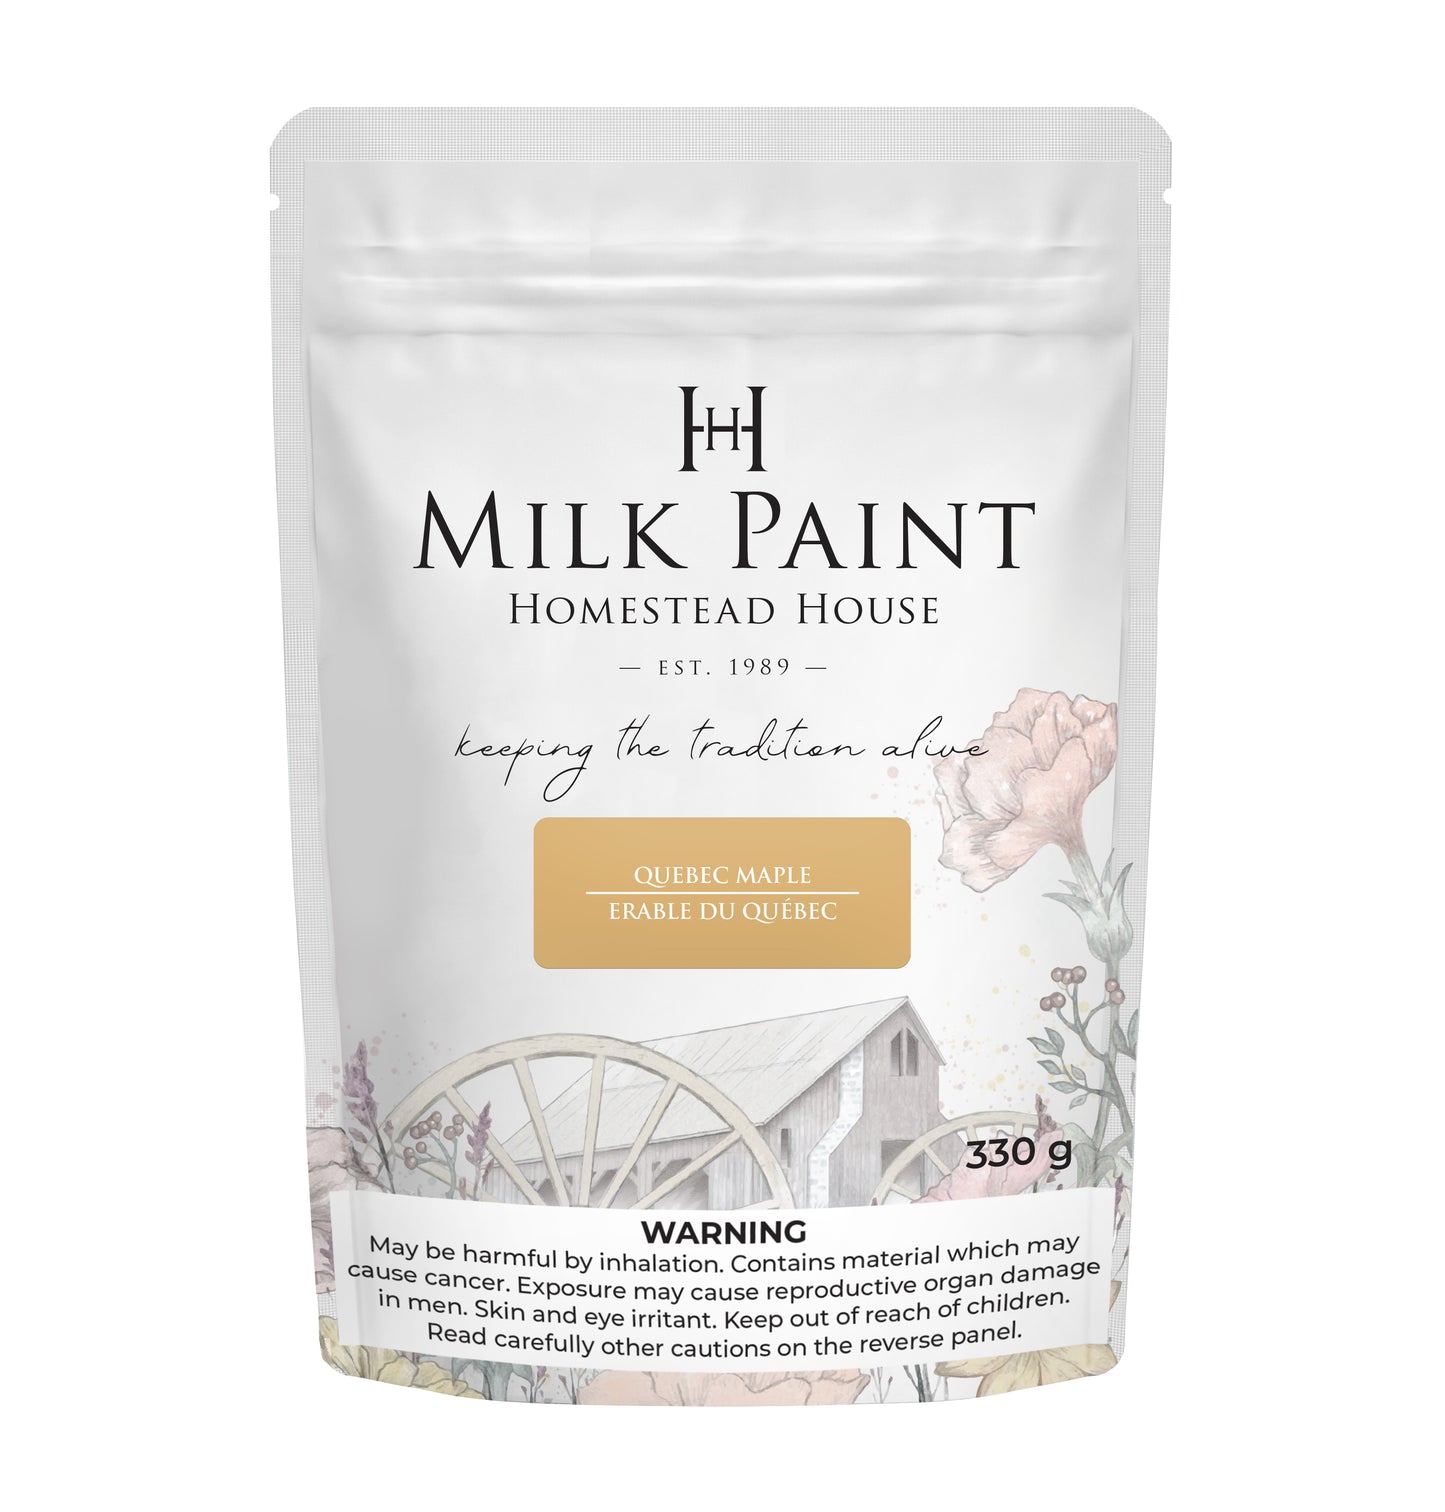
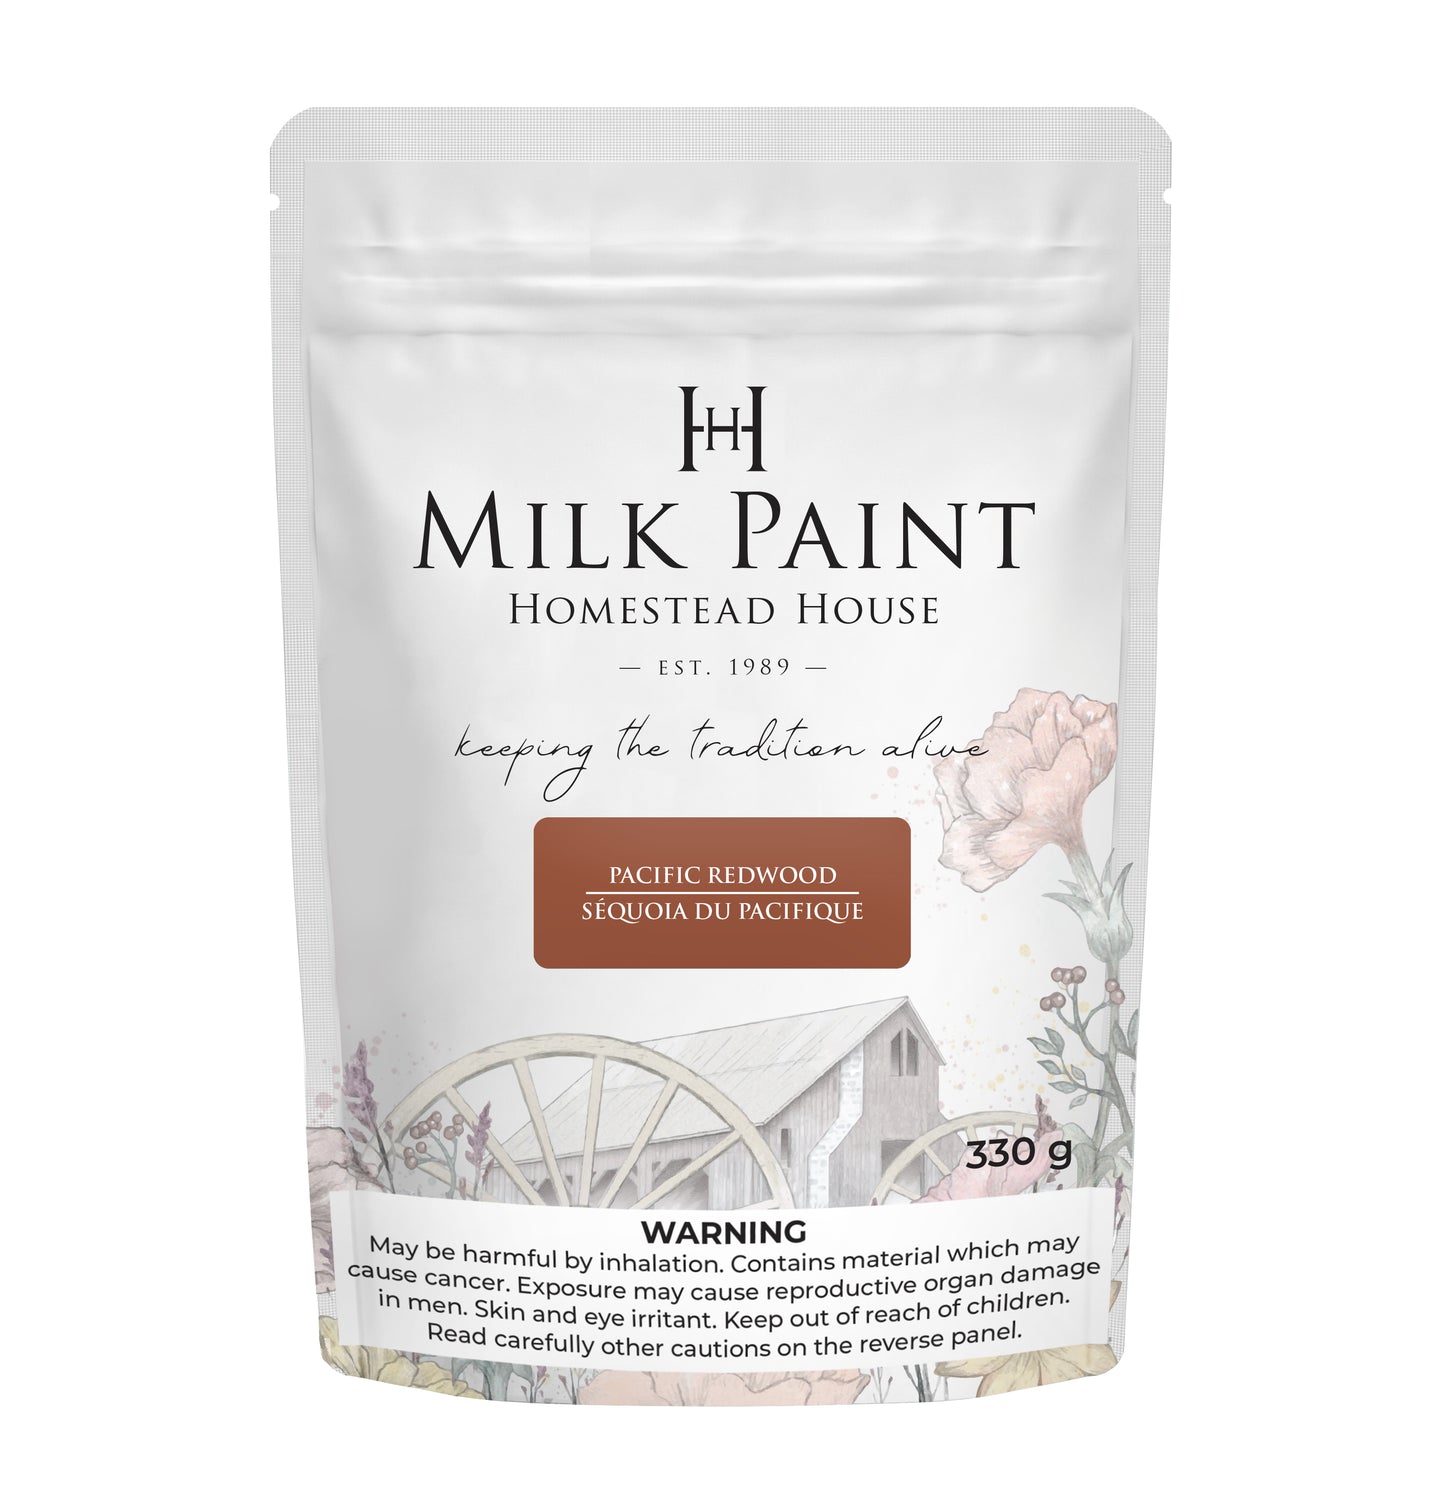
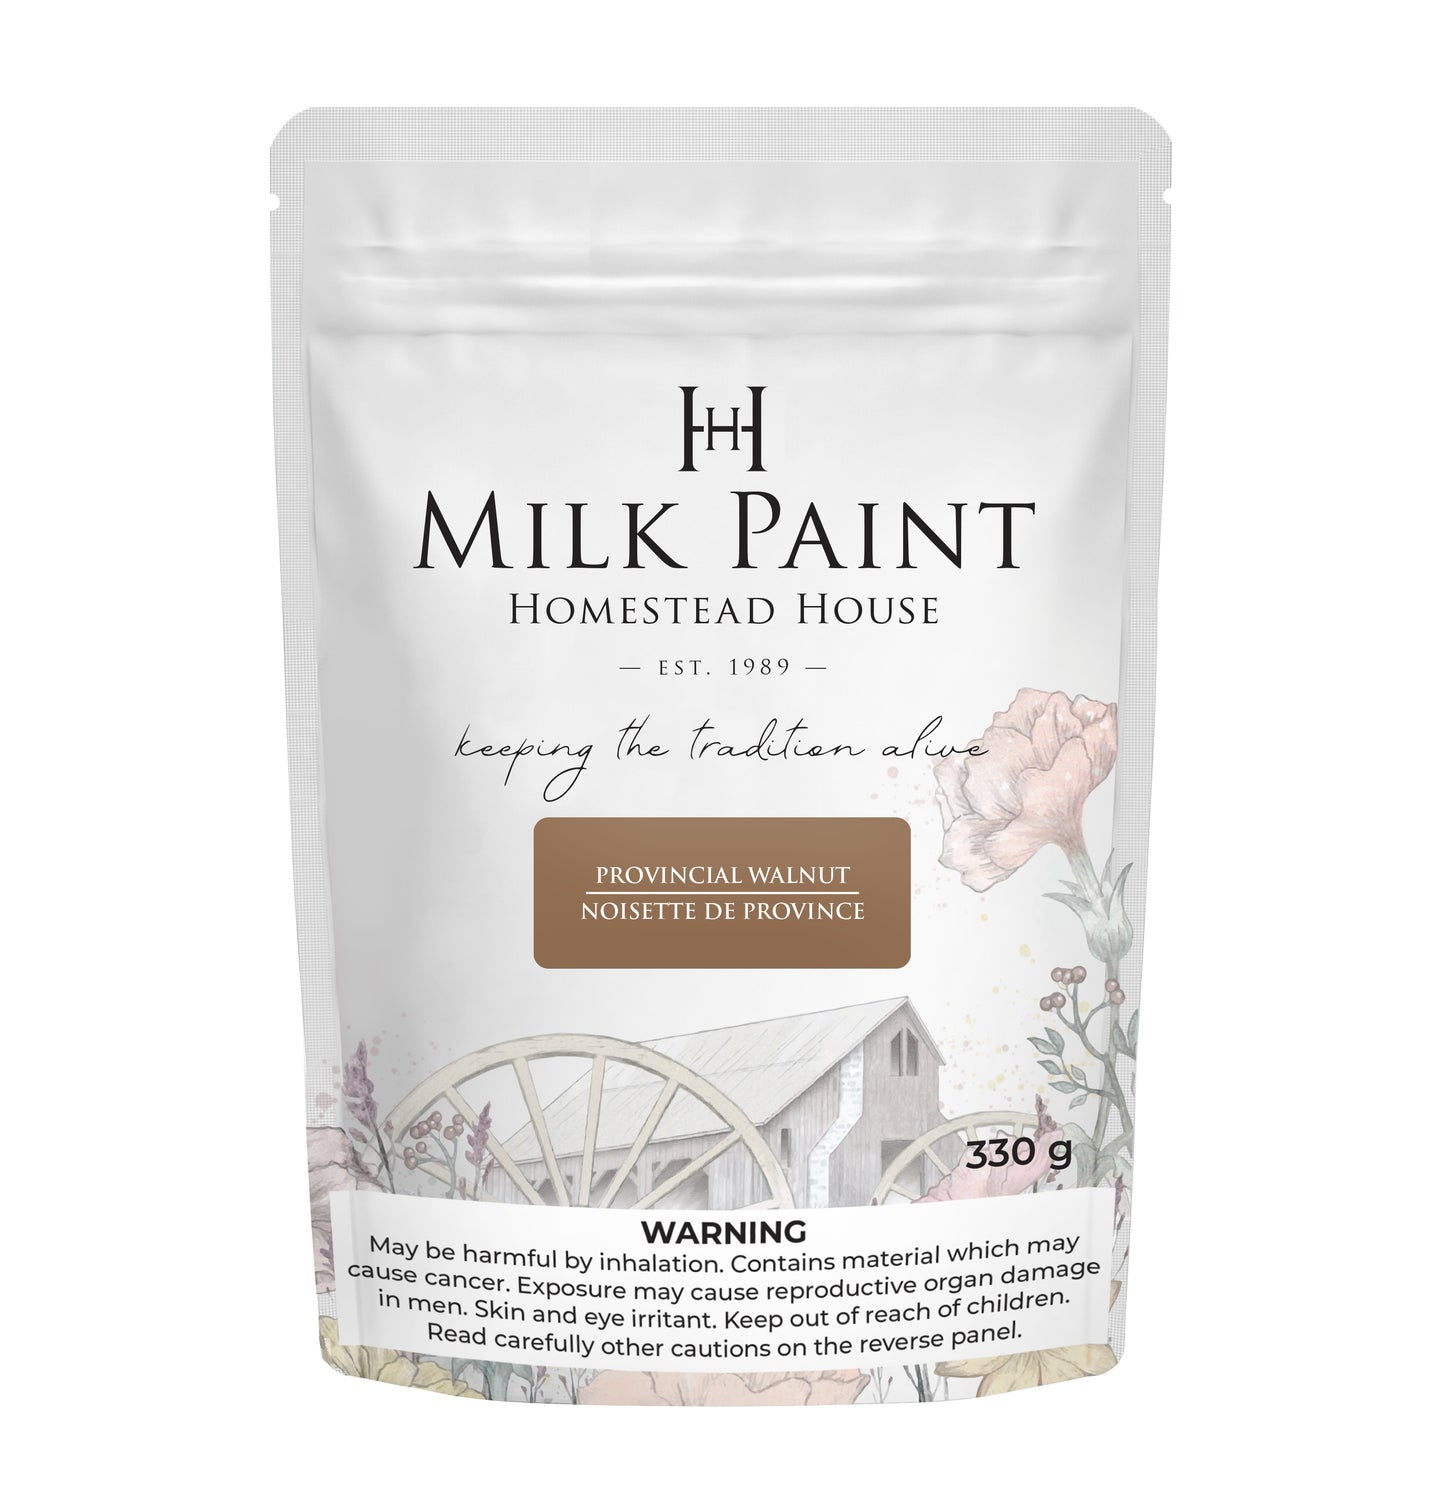
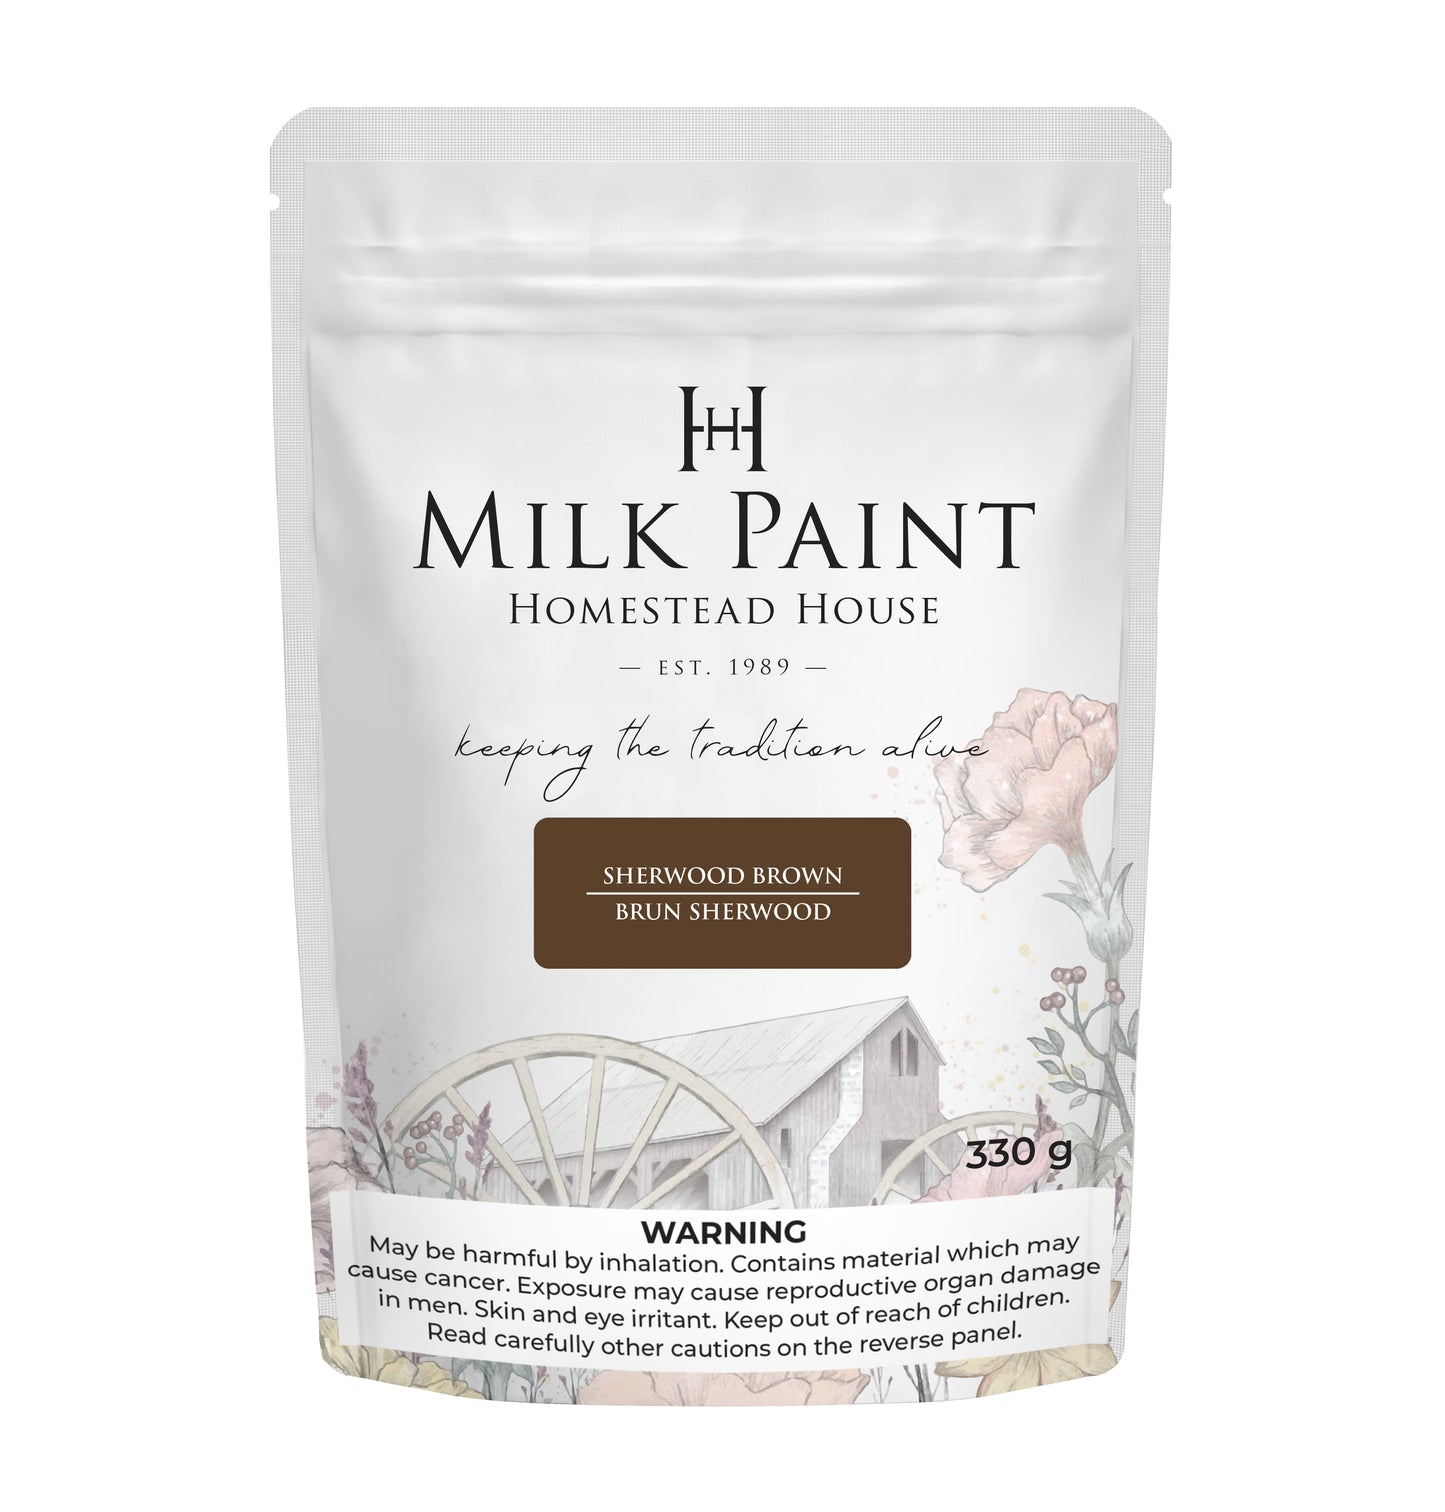
Idéal pour les chaises et les meubles de terrasse extérieurs, il ne s'écaille ni ne pèle. Avec le temps, une légère usure se produira sur les surfaces horizontales en cas de forte pluie. Les surfaces verticales sont peu affectées. Disponible en quatre couleurs : séquoia du Pacifique, noyer provincial, érable du Québec et brun Sherwood. De nombreuses personnes mélangent les couleurs pour créer une variation de teinte personnalisée. N'importe quelle couleur de peinture au lait peut être transformée en teinture en suivant les instructions de mélange.
Après 3 à 5 ans, vous pouvez remélanger une partie de la teinture et la réappliquer.
Aucun ponçage n'est requis, aucun travail de préparation n'est nécessaire.
Il suffit de mélanger, d'appliquer et de sceller !
Pour créer un effet délavé ou une teinture avec de la peinture au lait, ajoutez simplement de l'eau à votre mélange ! Découvrez ci-dessous des conseils et techniques pour obtenir le résultat souhaité. Quelle que soit la technique utilisée, le résultat sera incomparable !
Étape 1. Préparation
Assurez-vous que votre projet est exempt de toute couche de finition afin que la teinture à base de lait puisse bien pénétrer la surface. Pour ce faire, vous devrez peut-être retirer les couches précédentes par ponçage ou utiliser notre décapant non toxique pour peinture gel au soja et uréthane.
Étape 2. Coloration
Préparation pour la teinture : Mélangez 3 parts d’eau pour 1 part de poudre. Mixez avec un mixeur ou à la main. La consistance sera très liquide, comme de l’eau. Appliquez par mouvements réguliers d’une extrémité à l’autre pour obtenir une consistance homogène. La teinture sèchera complètement en 15 minutes environ.
Étape 3. Finition
Une fois satisfait(e) de l'application de votre teinture pour peinture au lait, vous pouvez poncer délicatement avec un papier de verre grain 300 pour lisser les reliefs du bois. Une fois satisfait(e), vous pouvez appliquer la couche de finition souhaitée. L'huile de chanvre, l'huile de tung ou la cire d'abeille sont d'excellentes finitions, 100 % naturelles et sans danger pour les aliments. L'huile permet de sceller et de protéger la surface, tout en satureant la peinture au lait pour un aspect éclatant et non crayeux. L'huile de chanvre et la cire d'abeille sont recommandées pour les applications intérieures. L'huile de tung est recommandée pour les applications extérieures. Deux couches d'huile suffisent idéalement ! Un vernis ou un uréthane peuvent également être utilisés.
_____________
Les peintures au lait Homestead House sont biodégradables !
Les couleurs de Homestead House illustrent les couleurs populaires de l'époque coloniale et des pionniers. Pour découvrir d'autres magnifiques exemples de couleurs des peintures au lait, consultez notre blog.
DIRECTIONS
DIRECTIONS
Choose a surface to get started:
SHINY, GLOSS, + PREVIOUSLY PAINTED
Lightly sand to remove sheen
PREVIOUSLY WAXED PIECE
Remove the wax with mineral spirits
IKEA SURFACES SUCH AS MELAMINE AND THERMOFOIL
Add bonding Agent to your Milk Paint
BARE WOOD
No primer needed
FUSIONTM MINERAL PAINT
No primer needed
New to Milk Paint? You've got this!
Just add water!
- Mix it
Combine 1 part water to 1 part powder and stir for 1 minute. - Paint it
Using any brush, apply Milk Paint to your surface. Each coat dries within 15-30 minutes (yep – speedy!) and can be re-coated immediately once dried. - Finish it
Apply a top coat to seal your Milk Paint and bring out the true depth of colour! This will also protect your paint for a finish that lasts generations. Hemp oil and furniture wax are great, easy to use options!
BENEFITS
BENEFITS
- Easy to mix
- No brush strokes
- Smooth as silk to chippy chic - you choose
- Ultra-durable
- Won’t chip or peel on porous surfaces
- Super versatile – use it on furniture, walls, and any interior or exterior applications
FREQUENTLY ASKED QUESTIONS
FREQUENTLY ASKED QUESTIONS
What is Milk Paint?
Milk Paint is a natural paint made with 5 ingredients. Lime, Chalk, Clay, Casein (Milk protein) and Pigments. It is an ancient paint formula! A version of this paint can be found in cave drawings and the Pyramids.
Milk paint is a natural, eco-friendly and sustainable way to paint your home and furniture. It's also easy to use and produces an amazingly durable finish that enhances the character of any surface. The milk protein in it acts as a binding agent for the pigment particles that provide colour, creating a smooth texture with low flat sheen. Milk paint can be used on furniture, walls or wood surfaces, but is best suited for absorbent materials such as raw wood, plaster and drywall because of its water-sensitive properties on furniture and other surfaces that may come into contact with water this paint needs to be sealed with a topcoat.
Mixing Milk Paint
It really is a simple paint to use and mix! Just add equal parts water and powder and stir for a few minutes. The powder will absorb into the water and you will be left with a table cream consistency. It isn't as thick as regular paint but the coverage is exceptional. For a wash or stain look, add more water 1 part powder to 3 parts water. For textured and crackled effect mix a little thicker than the 1-1.
How to get the Chippy look
Milk Paint is famous for its 'Chippy' look, this happens when the paint is applied to a previously painted surface without sanding. It chips off in certain areas creating this time worn authentic look. No other paint on the market can achieve this.
To achieve a chippy look on a prepped or raw wood surface you can just add a little salad bowl wax or Hemp Oil or our Beeswax black to certain areas of your project that you'd like the paint to chip.
To avoid chipping on your furniture just prep well with TSP and scuff sand the surface, if the surface is shiny add some bonding agent into your first coat of mixed milk paint.
If you have chipping and you like it but want to prevent it from continuing to chip, just coat it with out Tough Coat or Stain and Finishing oil to seal it in.
Sealing Milk Paint
Sealing Milk Paint is the final step of the painting process. It helps protect your furniture from spills and stains, as well as prolonging its life. There are a few different methods to seal milk paint that you can choose from including our natural Hemp Oil, our waxes, Stain and Finishing Oil and even out Tung Oil. For Milk Painted walls you don't need to seal at all!
Check out our blog for more Milk Paint inspiration, tips, tricks and tutorials.
GETTING STARTED
Learn how to prep your furniture, apply our paint, choose a top coat or brush for your perfect project by checking our our free getting started guides.
-
SHIPPING & RETURNS
SHIPPING & RETURN POLICIESWe strive to ship out every order within 1-2 days from ordering. Please read more about our shipping policy here:
-
PROJECT INSPIRATION
THE FUSION BLOGDiscover all the different ways Fusion Mineral Paint has been used in varying projects. Get ideas, learn techniques, and get inspired! Check out our Fusion blog right here.


